Well, I got to relive my childhood last month! I've been reading Harry Potter with my 8-year-old niece since November 2015, and she has become obsessed! My sister and I were planning to throw her a Harry Potter themed birthday party, and then a week later she decided she wanted one. It's took a lot of time. Long hours making things, and so many hours spent in the black hole that is Pinterest, but it was well worth it! My sister and I did a couple of test runs on some of the party supplies, and I managed to finally figure out how to perfect the things we found on Pinterest.
First off are wands. What would a Harry Potter birthday be without wands? All of the posts I found on Pinterest said to just use a chopstick, hot glue, acrylic paint, and a paint sealant. I ran into a few snags with this, however. The chopsticks weren't sturdy enough, and the paint kept rubbing off. I needed something thicker, and I needed...well, a primer for the paint.

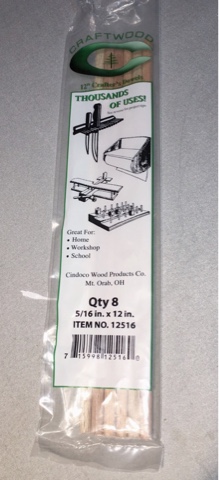
I started off with round wooden dowels that were 12 inches in length and 5/16 in diameter. I sanded them down on one end to round them off, and then I used hot glue to form the shape and give the wands texture.
 I let them dry and harden completely for a day before I coated them in gesso. Gesso is a primer that painters use on canvas, so I figured it would be a good place to start. It smoothed over the glue gun "spider webs" and left a matte finish behind on the wands. Once the gesso was dry, then it was time to paint! With these wands, you can make then look however you want! But for the sake of the party and everything being fair I made them all look similar, but not the same. The only one that was custom painted was the birthday girl's.
 When the wands were looking how I wanted them to I painted a little glitter paint on the tips to make them sparkle, and then I coated them in Mod Podge so they would dry glossy. (The paint I had was matte finish.) The Mod Podge, however, leaves behind the slightest tacky feeling, so I finished them off with acrylic paint sealant and left them to dry overnight. Come morning they were PERFECT!
 I put together a couple spell books, and the kids were able to take the wands outside and practice wizard duels after the cake. (Everything was melting then, but there was still snow on the ground so no Quidditch for these kids.) Making these wands was time-consuming. There were a lot of steps, and waiting in between for layers to dry. But in the end, they were a lot more sturdy and the paint stayed intact.
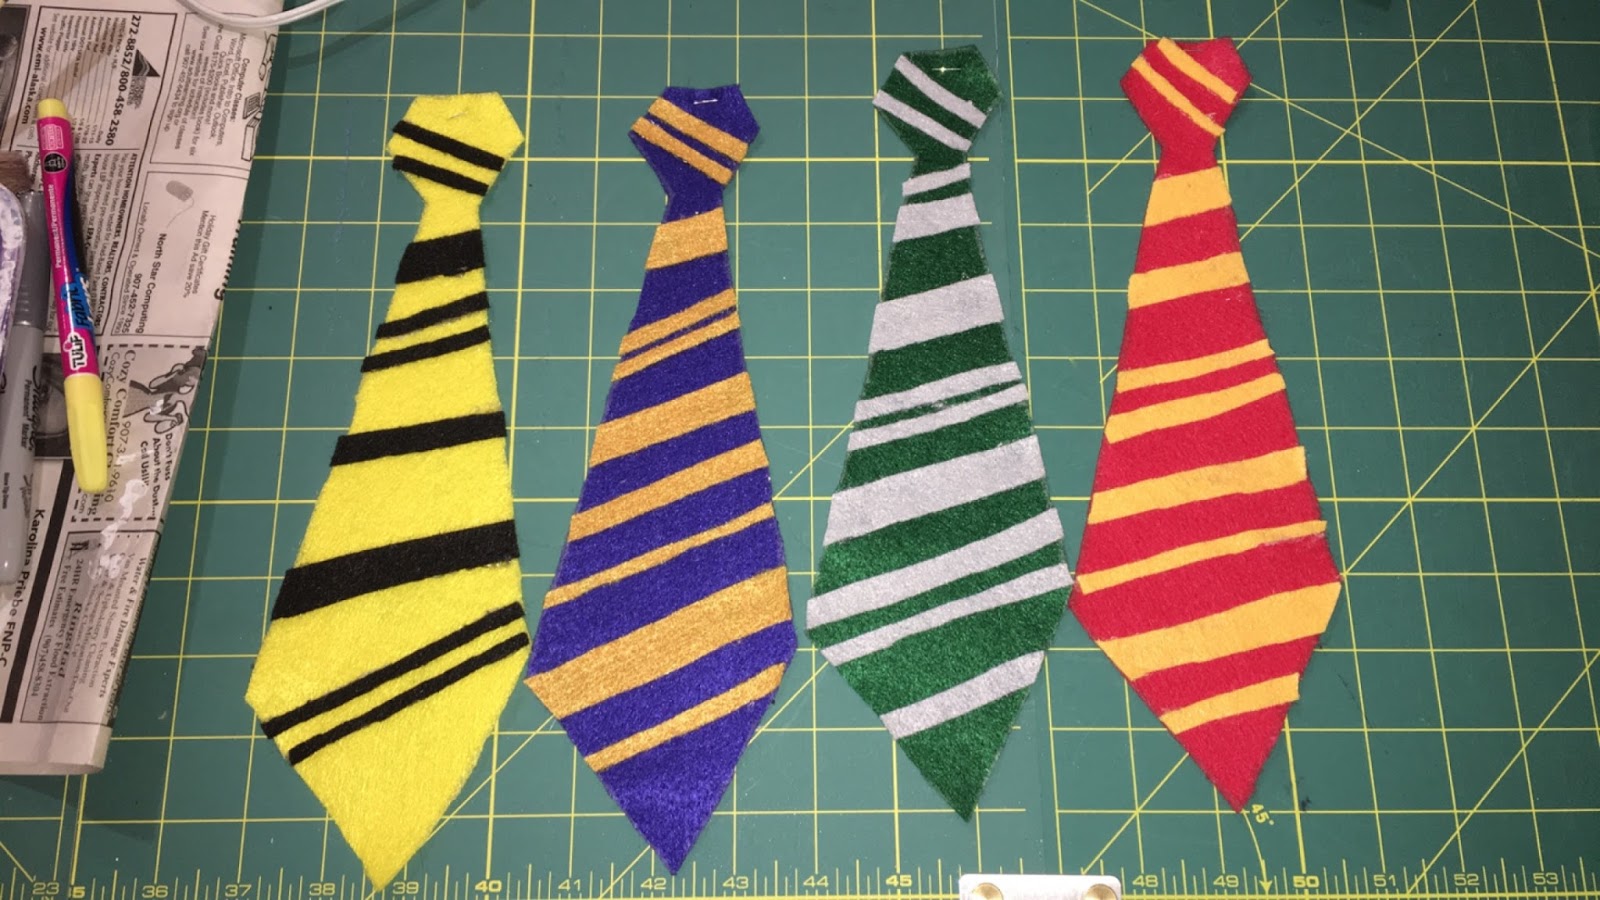 When we sent out the invitations I looked for a very simple, basic sorting hat quiz for the guest to fill out like an "application" to send back to us so we could figure out where to sort them for the party. Everyone got sorted, but how were they going to support their houses and show their "colors"? I popped back into the craft store and picked up some felt and safety pins, made a "tie pattern" out of paper, traced, cut, glued, and pinned. This one was very simple but took me about 2-3 hours doing it all by myself. The only thing is that you have to make sure you press down every part of the stripes when you're gluing them down. I used hot glue again because I didn't have any fabric glue around, but I imagine it would work better, and the felt will probably be easier to glue down.
 The final bit of crafting and DIY decoration that I want to share with you all that Pinterest got me started, but I fixed and perfected is... The Sorting Hat itself! This hat is made completely out of recycled material! It's comprised of an old sun hat that my sister has not worn in years, newspaper, brown paper bags, hot blue, and some paint. We started with the hat by cutting the top off of the old sun hat, made a cone of newspaper, and then put it through the bottom of the hat and duct taped it together so it would hold while I sculpted.
Next was to paper mache! I did two base layers of paper mache, plus a little extra around where the hat and cone were taped together so it would look smooth and seamless. After it was all dry I folded a couple pieces of newspaper together and hot glued them to the hat. Then I did three flattened balls of paper and glued them where I wanted the nose and "cheekbones" to be. After that, I smoothed over it all with more mache. The bottom lip took a little bit extra to work with, but in the end, I had to glue some paper together like I had to for the eyebrows and then smooth it over.
 Once it was all dry (I left it overnight), I went back to my sister's house. I worked on painting the wands while she did the layer of brown paper bag mache. She said she had to really douse the paper in mache because it was a stiffer, sturdier paper, but I talked her through some of it so it would work right and cooperate with her. We left the hat to dry overnight once more before we painted it.
 We originally weren't going to paint the whole thing, just some small detail work, but you could see the "paste" layered over all the hat due to having to use extra mache to glue it all together. So we mixed up a bunch of different shades of browns, painted some parts with black, especially the mouth and "patches", and then it was done! The party was the next day, so it got a chance to dry overnight. The hat ended up perfect! This is the thing I am most proud of out of all of the things we did for this party. It looks fantastic! It will definitely be a keepsake and used for any future Potter Parties.
All in all, the party was a huge success! We painted some freezer paper to look like the night sky for the ceiling, bricks for Platform 9 and 3/4, as well as a Happy Birthday banner in Harry Potter font. We decorated the dining room to look like Gryffindor had won the House Cup, and played Pin the Scar on Harry. We had Polyjuice Potion Punch, and a Basilisk Calzone. The kids had a blast with the wands and were making up their own spells. And the whole thing was complete with a pink and green cake like the one Hagrid made in the first movie.
The party was a lot of work, but so much fun. I am glad, however, that the next birthday for my nieces isn't for a couple months. I am party pooped! ;)
Until next time,
Abby


